Warning: Trying to access array offset on value of type bool in /home/co/public_html/mn/wp-content/themes/barrel/archive.php on line 68

Learn

Bio Link page, Grids, Learn, Sections

Fashion Grid Styles Section – 001

Step One: Insert a Custom HTML Block.

Step two: Just Paste below JS code into your Custom HTML block


<script src="https://biz15.com/trialone/custom/js/fashiongridstyle001.js"></script>


<script>
    // Create a new FashionGridStyle001 object
    new FashionGridStyle001(
        // Configuration object for the style (e.g., style 1)
        {style: 1},
        // Theme customization object with color settings
        {theme: {
                imageBgColor: "hsl(0, 100%, 92%)",
                imageHoverBgColor: "hsl(0, 100%, 78%)",
                titleColor: "hsl(300, 100%, 30%)",
                buttonColor: "white",
                buttonBgColor: "hsl(300deg 100% 10%)",
                buttonHoverColor: "white",
                buttonHoverBgColor: "hsl(300deg 100% 30%)",
        }},
        // Responsive settings for desktop, tablet, and mobile
        {responsive: {
            desktop: 3,
            tablet: 2,
            mobile: 2
        }},
        // Array containing fashion product details
        [
            {
                // Product details for the first item
                img: "https://biz15.co/uploads/block_images/0dc8b43d5a1171b96e088adfec5eaa1d.png",
                title: "Your Title",
                para: "Your paragraph",
                // Button details for the first item
                button: {
                    text: "Know More",
                    link: "#",
                    icon: "fa-solid fa-arrow-right",
                }
            },
            // ... add more product details as needed
        ]
    );
</script>

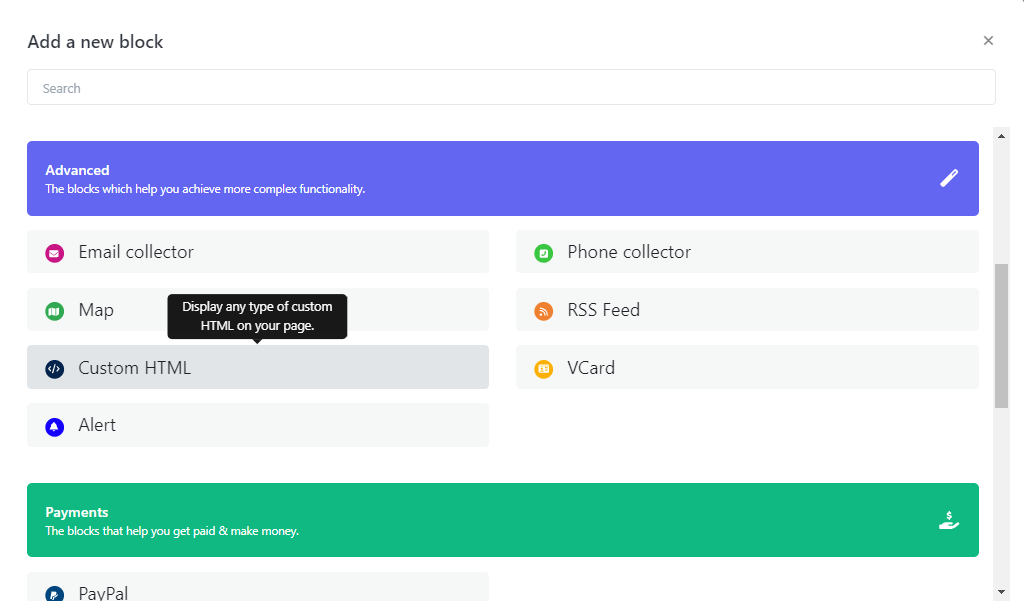
The result following the completion of the steps.
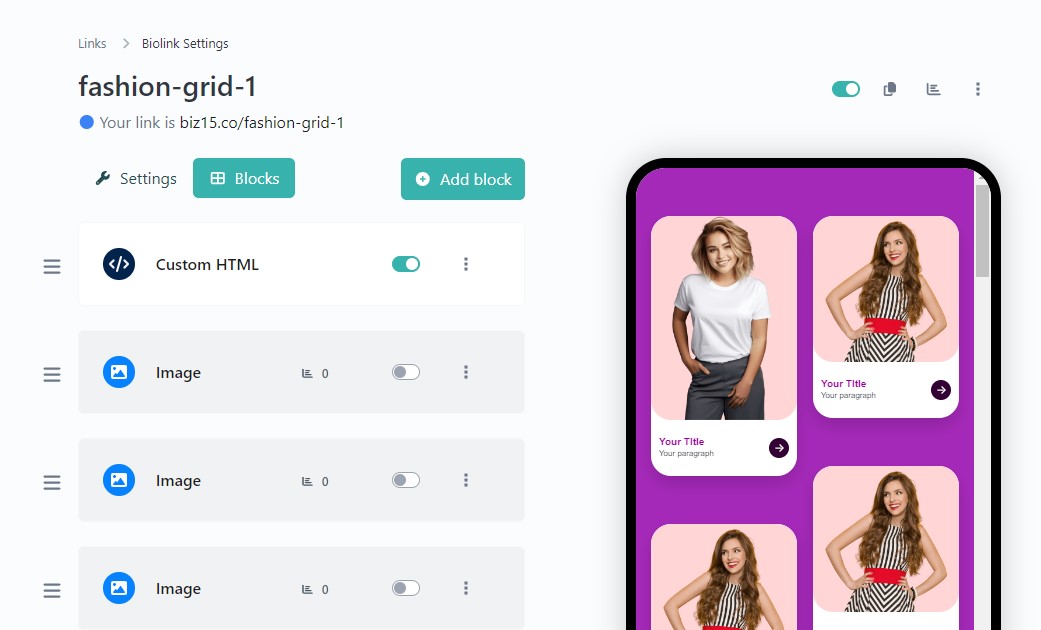
Where To Set Image, Title And Paragraph

Below code for Where To Set Image, Title And Paragraph :

 
    // Product details for the first item
    img: "your-image.jpg",
    title: "Your Title",
    para: "Your paragraph",

Where To Set Button Setting

Below code for Where To Set Button Setting :

 
    // Button details for the first item
    button: {
        text: "Know More",
        link: "#",
        icon: "fa-solid fa-arrow-right",
    }

Where To Set Responsive Grid

Below code for Where To Set Responsive Grid :

 
    // Responsive settings for desktop, tablet, and mobile
    {
        responsive: {
            desktop: 3,
            tablet: 2,
            mobile: 2
        }
    },

Where To Set Theme Settings

Below code for Where To Set Theme Settings :

 
    // Theme customization object with color settings
    {
        theme: {
            imageBgColor: "hsl(0, 100%, 92%)",
            imageHoverBgColor: "hsl(0, 100%, 78%)",
            titleColor: "hsl(300, 100%, 30%)",
            buttonColor: "white",
            buttonBgColor: "hsl(300deg 100% 10%)",
            buttonHoverColor: "white",
            buttonHoverBgColor: "hsl(300deg 100% 30%)",
        }
    },

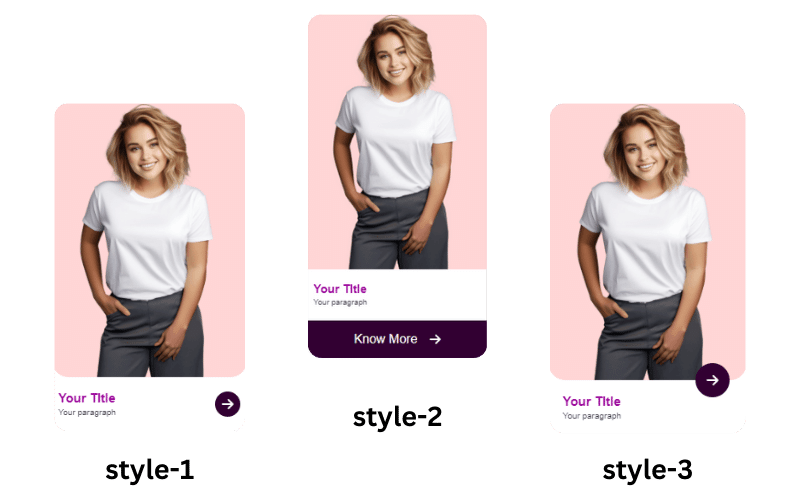
Where To Set Next Style

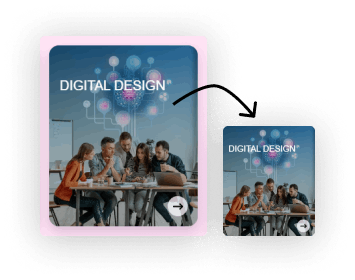
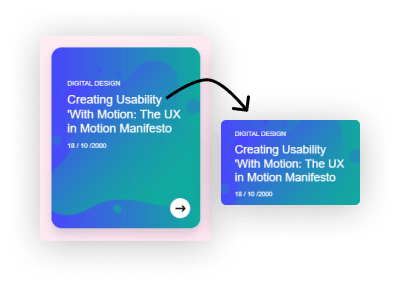
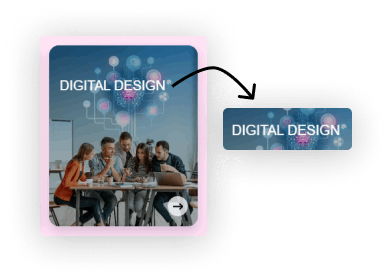
Here you will change number 1 to 3, the grid change fully next design.

Below code for Where To Set Next Style :

 
    // Configuration object for the style (e.g., style 1 , 2 and 3)
    {
        style: 1
    },

To upload an image and retrieve its source (URL), please follow these steps :

Select or Prepare Your Image: Begin by choosing the image you wish to upload, ensuring it’s in an appropriate format (e.g., JPG, PNG).

Step One : on Your Dashboard Select “File Link” panel and click “File link” button on your Top Right corner

Step Two: Select your desired image and and its name then proceed by clicking the “Create File Url” button.

Step Three: Now, you can see bellow figure that highlighted the image url and just “Copy Your Image Address.”

“Follow the previously mentioned steps to upload and obtain the image URL for all of your images.”

Other Style Sections :

Bio Link page, Grids, Learn, Sections

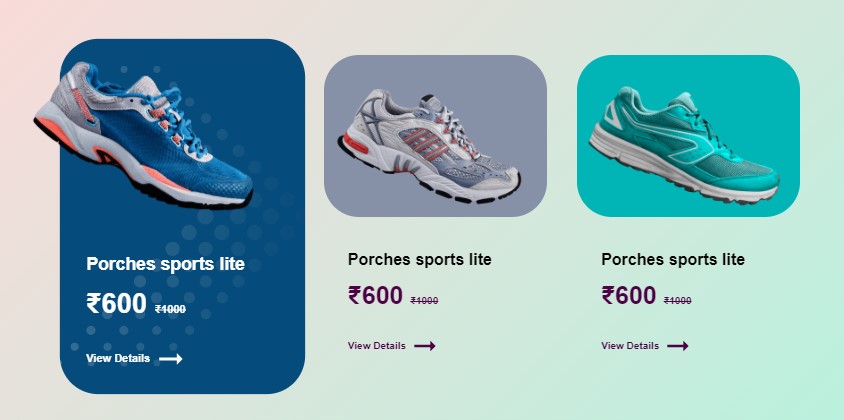
Product Grid Style Section – 004

Step One: Insert a Custom HTML Block.

Step two: Just Paste below JS code into your Custom HTML block

<!-- Include the external JavaScript file for StylishGrid -->
<script src="https://biz15.com/trialone/custom/js/stylishgrid.js"></script> 

<!-- Initialize StylishGrid -->
<script>
    // Create a new instance of StylishGrid with style and product data
    new StylishGrid({style : 1}, [
        // Define data for the first product
        {
            ProductBgColor: "#023867",
            productImage: "https://biz15.co/uploads/block_images/247a851f686a88da30e19ed75afc7ebd.png",
            title: "Porches sports lite",
            currency: "",
            discountPrice: "500",
            originalPrice: "1000",
            knowMoreButton: {
                icon: 'fa-solid fa-arrow-right-long',
                text: 'View Detail',
                link: "https://example.com/",
            },
        },
        // Repeat the above block for additional products as needed...
    ]);
</script>

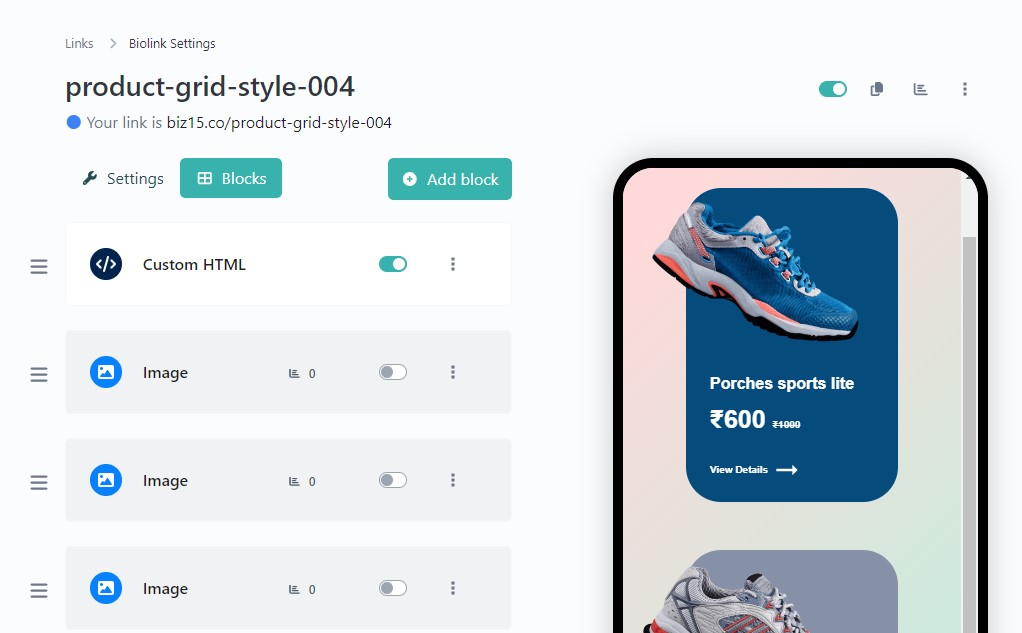
The result following the completion of the steps.

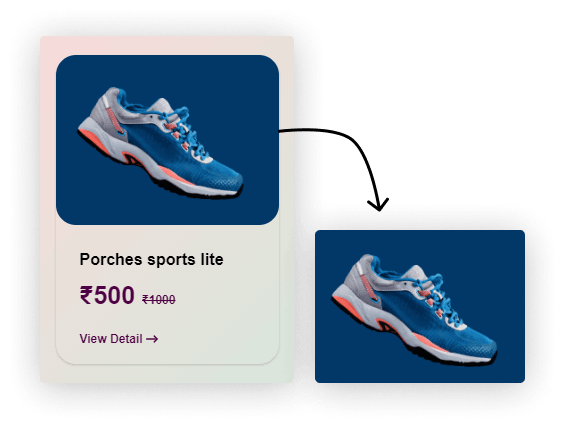
Where To Set Image

Below code for Where To Set Image:

 { 
productImage: "yourimage.png",
 }

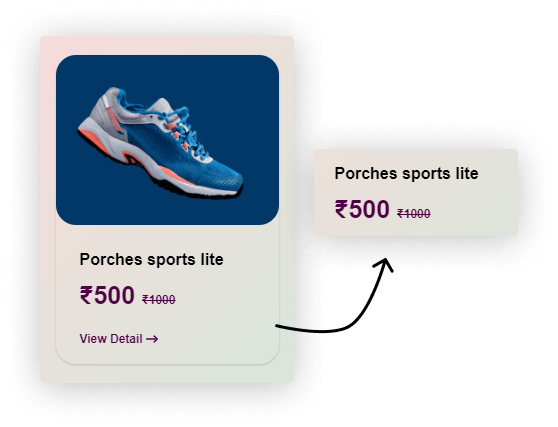
Where To Set Title And Price

Below code for Where To Set Title And Price :

{
title: "Porches sports lite",
currency: "",
discountPrice: "500",
originalPrice: "1000",
}

How To Add More Grid

Add additional grid as needed by placing a comma (,) at the end

Below code for How To Add More Grid :

[
 {
     //Your content for grid 1 
  },
  
  {
    // Your content for grid 2 
  }
  // Add additional grid as needed by placing a comma (,) at the end 
]

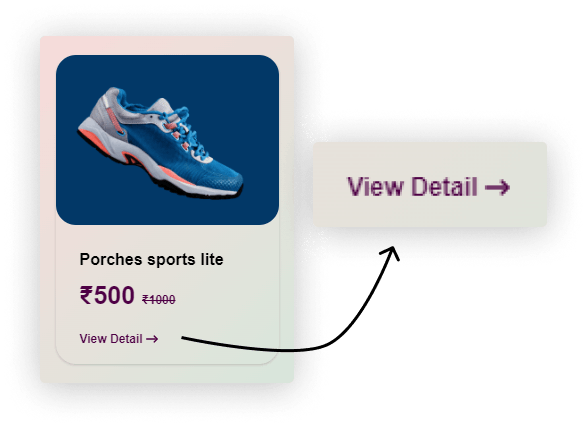
Where To Set Button Link And Color

Below code for Where To Set Button Link And Color :

knowMoreButton: {
icon: 'fa-solid fa-arrow-right-long',
text: 'View Detail',
link: "https://example.com/",
},

To upload an image and retrieve its source (URL), please follow these steps :

Select or Prepare Your Image: Begin by choosing the image you wish to upload, ensuring it’s in an appropriate format (e.g., JPG, PNG).

Step One : on Your Dashboard Select “File Link” panel and click “File link” button on your Top Right corner

Step Two: Select your desired image and and its name then proceed by clicking the “Create File Url” button.

Step Three: Now, you can see bellow figure that highlighted the image url and just “Copy Your Image Address.”

“Follow the previously mentioned steps to upload and obtain the image URL for all of your images.”
Other Style Sections :

Bio Link page, Grids, Learn, Sections

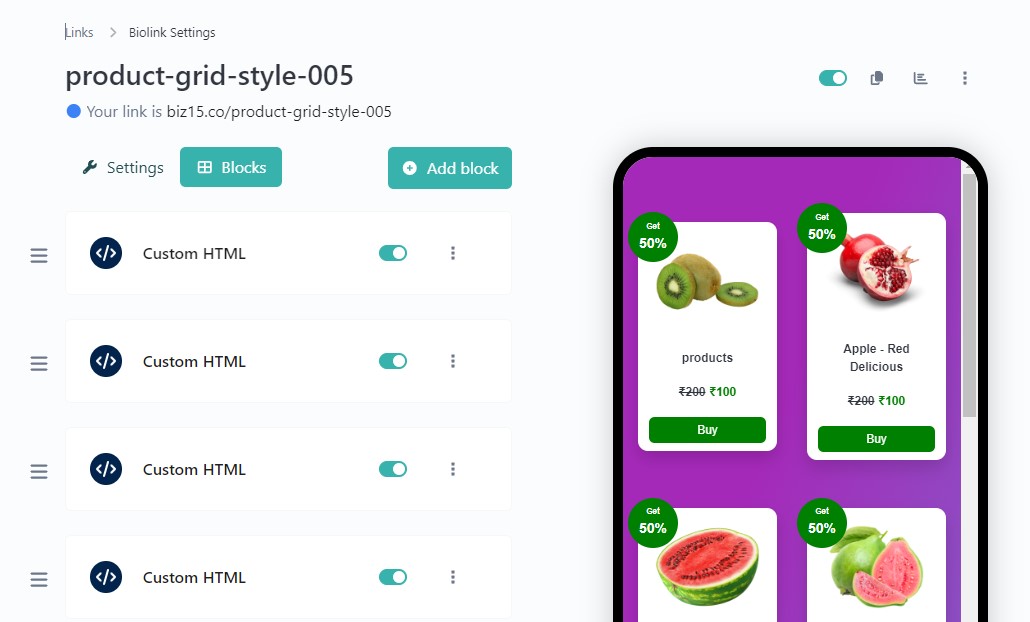
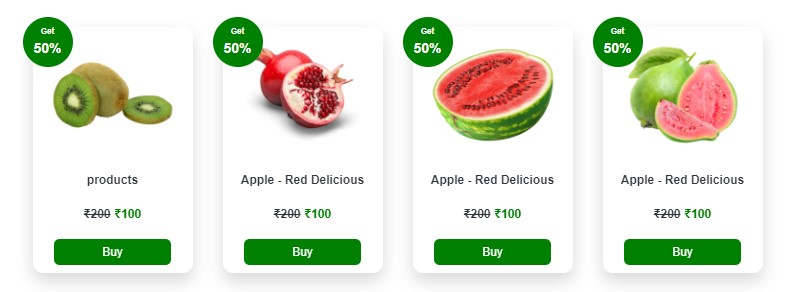
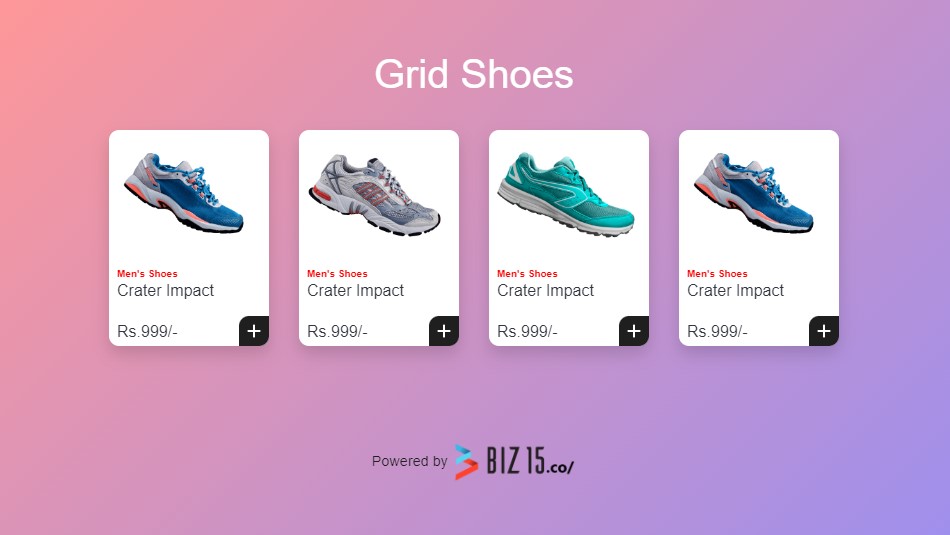
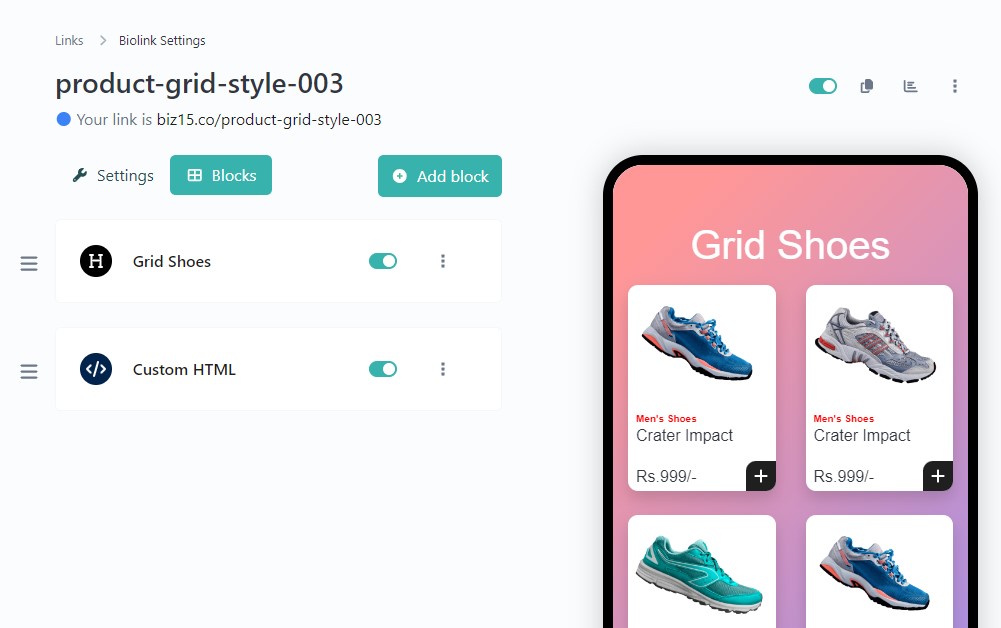
Product Grid Style Section – 003

Step One: Insert a Custom HTML Block.

Step two: Just Paste below JS code into your Custom HTML block

<!-- JS DATA CODE -->

 <!-- Include the external JavaScript file for StylishGrid002 -->
<script src="https://biz15.com/trialone/custom/js/stylishgrid002.js"></script>

<!-- Initialize StylishGrid002 -->
<script>
 // Create a new instance of StylishGrid002 with style, theme settings, and product data
new StylishGrid002(
{
    style: 1
},
{
     // Define theme settings for the grid
    themeSetting: {
        currency: "₹",
        productBorderRadius: "10px",
        categoryFontSize: "10px",
        categoryColor: "red",
        titleFontSize: "18px",
        titleColor: "black",
        priceFontSize: "20px",
        priceColor: "green",
        btnBgColor: 'black',
        btnTextColor: "white",
        btnBgColor_Hover: '#ff9800',
        btnTextColor_Hover: "#fff",
        btnIcon: "fa-solid fa-plus",
    }
},
 // Provide an array of product data objects
[
     // Define data for the first product
    {
        imageUrl: "https://biz15.co/uploads/block_images/247a851f686a88da30e19ed75afc7ebd.png",
        category: "Men's Shoes",
        title: "Crater Impact",
        price: "999",
        btnLink: "https://biz15.co/grid-shoes",
    },
     // Add more product entries as needed...
]);
</script>

The result following the completion of the steps.

Where To Set Image

Below code for Where To Set Image:

{ 
imageUrl: "yourimage.png",
}

Where To Set Title, Description And Price

Below code for Where To Set Title, Description And Price :

{
category: "Men's Shoes",
title: "Crater Impact",
price: "999", 
}

How To Add More Grid

Add additional grid as needed by placing a comma (,) at the end

Below code for How To Add More Grid :

[
 {
     //Your content for grid 1 
  },
  
  {
    // Your content for grid 2 
  }
  // Add additional grid as needed by placing a comma (,) at the end 
]

Where To Set Button Link

Below code for Where To Set Button Link :

{
btnLink: "https://example.com/,
}

To upload an image and retrieve its source (URL), please follow these steps :

Select or Prepare Your Image: Begin by choosing the image you wish to upload, ensuring it’s in an appropriate format (e.g., JPG, PNG).

Step One : on Your Dashboard Select “File Link” panel and click “File link” button on your Top Right corner

Step Two: Select your desired image and and its name then proceed by clicking the “Create File Url” button.

Step Three: Now, you can see bellow figure that highlighted the image url and just “Copy Your Image Address.”

“Follow the previously mentioned steps to upload and obtain the image URL for all of your images.”
Other Style Sections :

Bio Link page, Grids, Learn, Sections

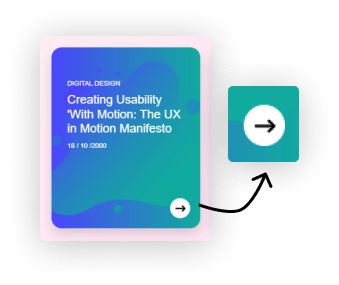
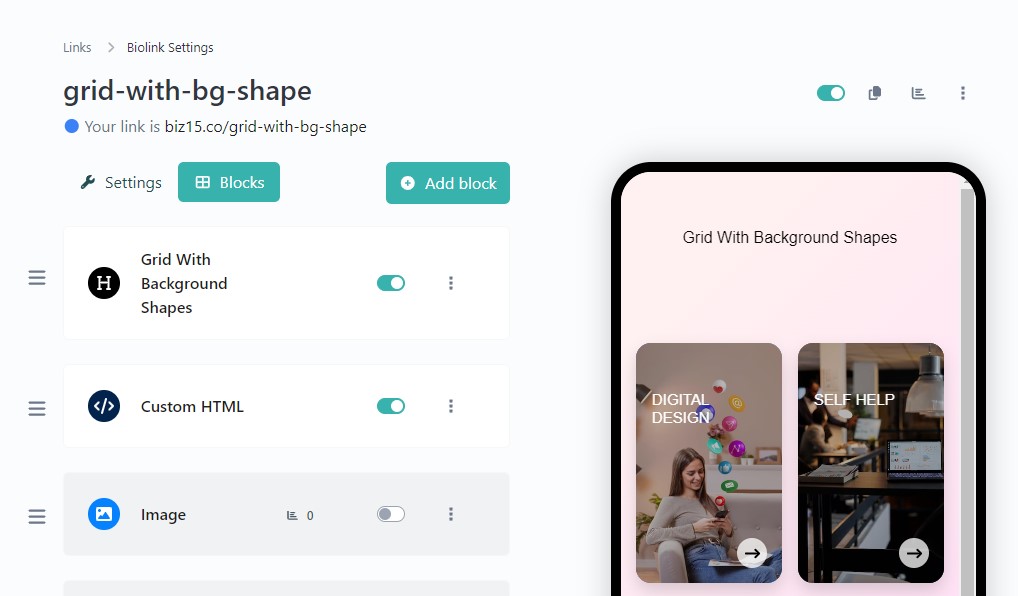
Bg Shape Style Blog Grid Section – 001

Step One: Insert a Custom HTML Block.

Step two: Just Paste below JS code into your Custom HTML block

<!-- Include the ShapeStyleBlogGrid JavaScript library -->
<script src="https://biz15.com/trialone/custom/js/shapestylebloggrid.js"></script>

<!-- Initialize ShapeStyleBlogGrid with custom settings and data -->
<script>
  // Create a new instance of ShapeStyleBlogGrid with custom style settings
  new ShapeStyleBlogGrid(
      { style: 1 }, // Specify custom style settings (in this case, using style 1)

      // Array of blog post data objects to be displayed in the ShapeStyleBlogGrid
      [
          // Blog post entry 1
          {
              // Image for the grid
              gridImg: "https://img.freepik.com/free-photo/social-media-marketing-concept-marketing-with-applications_23-2150063132.jpg?w=360&t=st=1699074482~exp=1699075082~hmac=7c9501e5c7bbb27a47bc17ec6beb798cdb61db59baf46f6847a40fcd87747338",
              
              // Inner title for the blog post
              title: "Your Title",

              // Description or paragraph for the blog post
              para: "Your Description",

              // Date of the blog post
              date: "00 / 00 /0000",

              // Button link for more details or to read the full blog post
              link: "https://example.com/",

              // Main title for the grid
              gridTitle: "Your Title"
          }
      ]
  );
</script>

The result following the completion of the steps.

Where To Set Image

Below code for Where To Set Image:

{
gridImg: "yourimage.jpg",
}

Where To Set Inner Title, Description And Date

Below code for Where To Set Inner Title, Description And Date :

{
// Inner title for the blog post
title: "Your Title",
// Description or paragraph for the blog post
para: "Your Description",
// Date of the blog post
date: "00 / 00 /0000",
}

Where To Set Main Title

Below code for Where To Set Main Title :

{
gridTitle: "Grid Title 1"
}

Where To Set Button Link

Below code for Where To Set Button Link :

{
// Button link for more details or to read the full blog post
link: "https://example.com/",
}

To upload an image and retrieve its source (URL), please follow these steps :

Select or Prepare Your Image: Begin by choosing the image you wish to upload, ensuring it’s in an appropriate format (e.g., JPG, PNG).

Step One : on Your Dashboard Select “File Link” panel and click “File link” button on your Top Right corner

Step Two: Select your desired image and and its name then proceed by clicking the “Create File Url” button.

Step Three: Now, you can see bellow figure that highlighted the image url and just “Copy Your Image Address.”

“Follow the previously mentioned steps to upload and obtain the image URL for all of your images.”
Other Style Sections :

Bio Link page, Grids, Learn, Sections

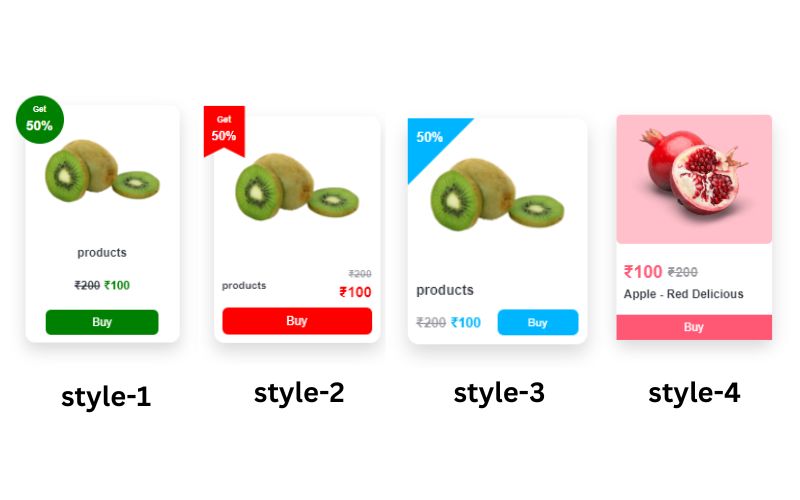
Product Grid Styles Section – 002

Step One: Insert a Custom HTML Block.

Step two: Just Paste below JS code into your Custom HTML block

    
<script src="https://biz15.com/trialone/custom/js/productgridstyle002.js"></script>


<script>
    // Create a new ProductsGridStyle005 object
    new ProductsGridStyle002(
        // Configuration object for the style (e.g., style 4)
        {style: 4},
        // Theme customization object with color, hoverColor, and imageHoverColor
        {theme:{
            color: "green",
            hoverColor: "darkgreen",
            imageHoverColor: "#22dd2273"
        }},
        // Array containing product details
        [
            {
                // Product details for the first item
                image: "https://biz15.co/uploads/block_images/dd9cfe7546082ed7854bb2a6c34932aa.png",
                title: "Product title",
                currency: "",
                currentPrice: 100,
                originalPrice: 200,
                labelText: "Get",
                labelPercentage: "50%",
                btnText: "Buy",
                btnLink: "#",
            },
            // ... add more product details as needed
        ]
    );
</script>

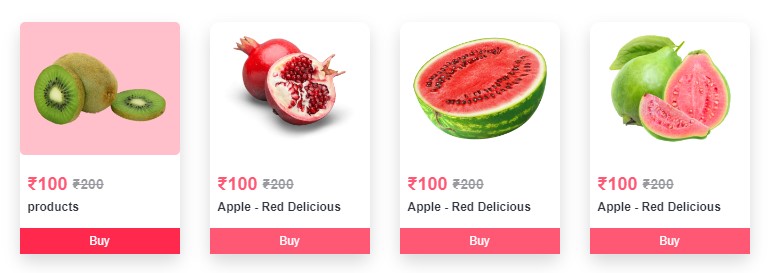
The result following the completion of the steps.

Where To Set Image And Title

Below code for Where To Set Image And Title :

    image: "your-image.png",
    title: "Product title",

Where To Set Price Setting

Below code for Where To Set Price Setting :

    currency: "",
    currentPrice: 100,
    originalPrice: 200,

Where To Set Label Text And Percentage

Below code for Where To Set Label Text And Percentage :

    labelText: "Get",
    labelPercentage: "50%",

Where To Set Button Text And Link

Below code for Where To Set Button Text And Link :

    btnText: "Buy",
    btnLink: "#",

Where To Set Theme Setting

Color, Hover Color, Image Hover Color

Below code for Where To Set Theme Setting :

    theme:{
        color: "green",
        hoverColor: "darkgreen",
        imageHoverColor: "#22dd2273"
    },

Where To Set Other Grid Styles

Below code for Where To Set Other Grid Styles :

    // here options for style we have 1 to 4
    {style: 1},
    // here options for style we have 1 to 4
    {style: 2},
    // here options for style we have 1 to 4
    {style: 3},
    // here options for style we have 1 to 4
    {style: 4},

To upload an image and retrieve its source (URL), please follow these steps :

Select or Prepare Your Image: Begin by choosing the image you wish to upload, ensuring it’s in an appropriate format (e.g., JPG, PNG).

Step One : on Your Dashboard Select “File Link” panel and click “File link” button on your Top Right corner

Step Two: Select your desired image and and its name then proceed by clicking the “Create File Url” button.

Step Three: Now, you can see bellow figure that highlighted the image url and just “Copy Your Image Address.”

“Follow the previously mentioned steps to upload and obtain the image URL for all of your images.”
Other Style Sections :

Bio Link page, Hero Section, Learn, Sections

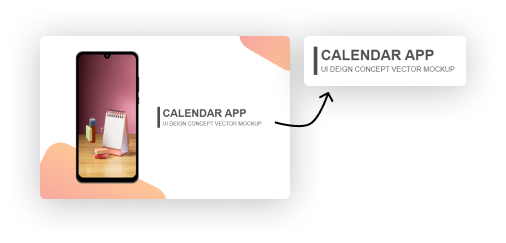
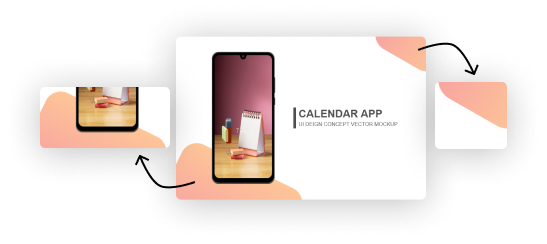
Stylish Mobile Frame Section

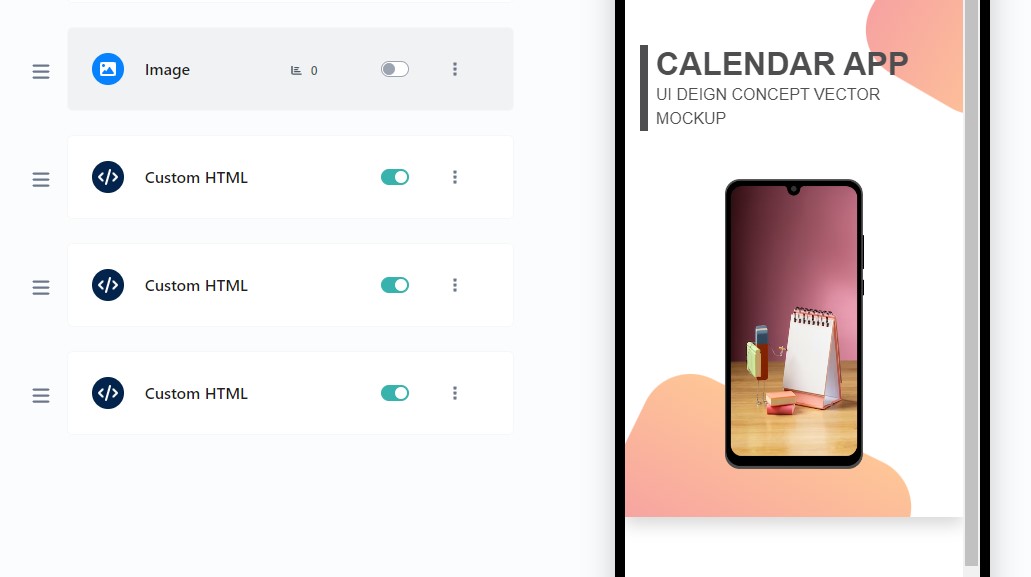
Step One: Insert a Custom HTML Block.

Step two: Just Paste below JS code into your Custom HTML block

<script src="https://biz15.com/trialone/custom/js/mobileshapedesign.js"></script>

<script>
// Sample data (you can replace it with your dynamic data)
new Data(
{
// mobile image
imageSrc: "https://biz15.co/uploads/block_images/b162b90616e78411827e403143253c40.png",
// mobile inner background image
phBgImg: "https://img.freepik.com/free-photo/animated-eraser-drawing-still-life_23-2149911061.jpg?w=360&t=st=1699611152~exp=1699611752~hmac=e432bf1fe202e53edc3bd03cd33de6125e31978957fdb58dadd3bfadf22ff9e1",
// title
title: "CALENDAR APP",
// sub title
subTitle: "UI DEIGN CONCEPT VECTOR MOCKUP",
// background shapes color
color1:"#f7a3a1",
color2:"#fec697",
}
);
</script>

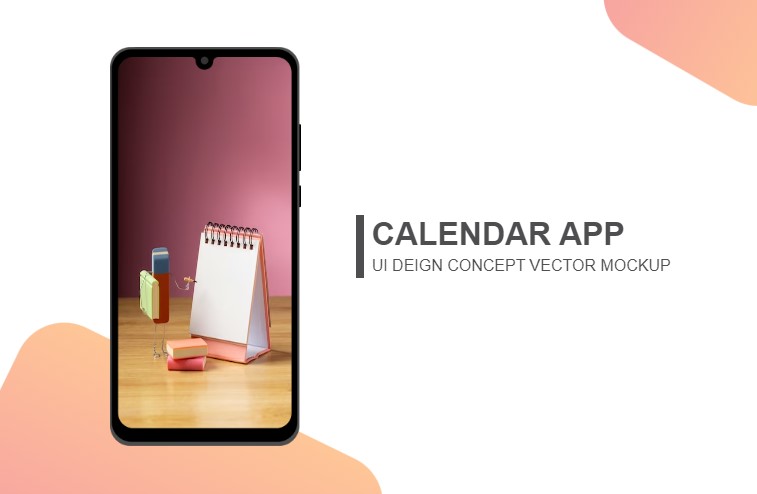
The result following the completion of the steps.

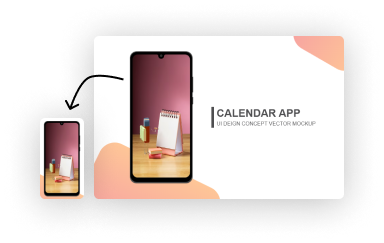
Where To Change Mobile Inner Background Image

Below code for Where To Change Mobile Inner Background Image :

{
// mobile inner background image
phBgImg: "yourimage.jpg",
}

Where To Change Title And Sub Title

Below code for Where To Change Title And Sub Title :

{
// title
title: "Your Title",
// sub title
subTitle: "Your Sub Title",
}

Where To Set Background Shape Color

Below code for Where To Set Background Shape Color :

{
// background shapes color
color1:"#f7a3a1",
color2:"#fec697",
}

To upload an image and retrieve its source (URL), please follow these steps :

Select or Prepare Your Image: Begin by choosing the image you wish to upload, ensuring it’s in an appropriate format (e.g., JPG, PNG).

Step One : on Your Dashboard Select “File Link” panel and click “File link” button on your Top Right corner

Step Two: Select your desired image and and its name then proceed by clicking the “Create File Url” button.

Step Three: Now, you can see bellow figure that highlighted the image url and just “Copy Your Image Address.”

“Follow the previously mentioned steps to upload and obtain the image URL for all of your images.”
Other Style Sections :

Bio Link page, Grids, Learn, Sections

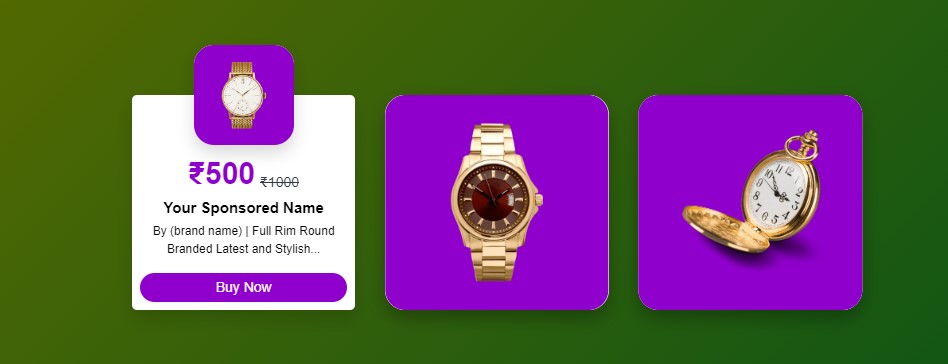
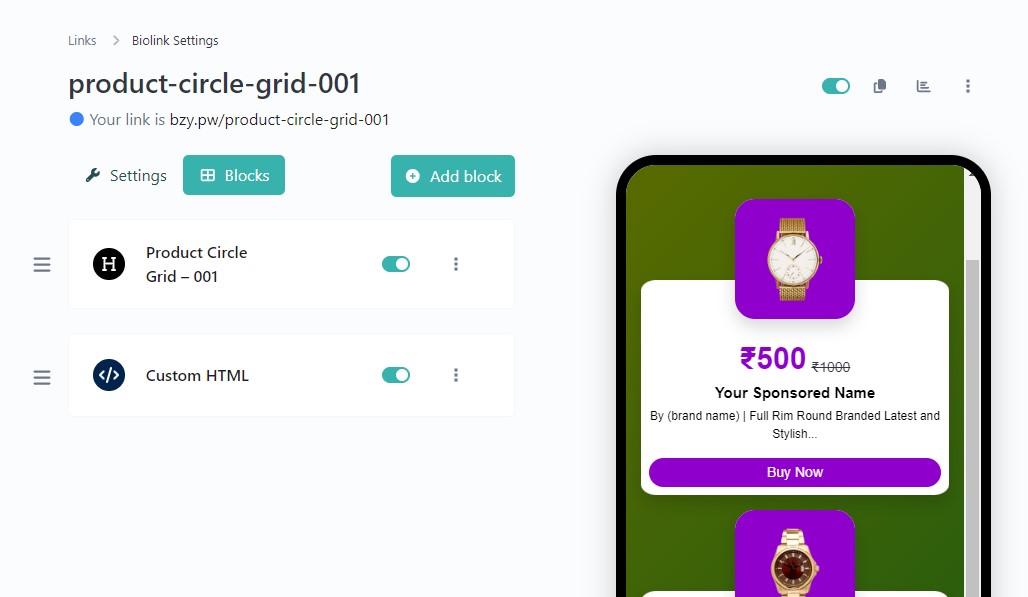
Product Circle Grid Section – 001

Step One: Insert a Custom HTML Block.

Step two: Just Paste below JS code into your Custom HTML block

<!-- Include the CircleStyleGrid JavaScript library -->
<script src="https://biz15.com/trialone/custom/js/circlestylegrid.js"></script>

<!-- Initialize CircleStyleGrid with custom settings and theme -->
<script>
// Create a new instance of CircleStyleGrid with custom style settings and theme
new CircleStyleGrid(
{ style: 2 }, /* Specify custom style settings in this case, using style 
1 to 3*/

// Specify custom theme settings for CircleStyleGrid
{
themeSetting: {
productBGColor: 'hsl(282, 100%, 40%)',
productsBoxBorderRadius: "20px",
priceColor: "hsl(282, 100%, 40%)",
titleTextColor: "black",
titleFontSize: "15px",
descriptionTextColor: "black",
descriptionFontSize: "12px",
buttonBGColor: "hsl(282, 100%, 40%)",
buttonHoverBGColor: "hsl(282, 100%, 20%)",
buttonBorderRadius: "20px",
}
}, // End of custom theme settings

// Array of product data objects to be displayed in the CircleStyleGrid
[
// Product 1
{
image: "https://biz15.co/uploads/block_images/29311539b2f7fcf9a1f825c472a6d100.png",
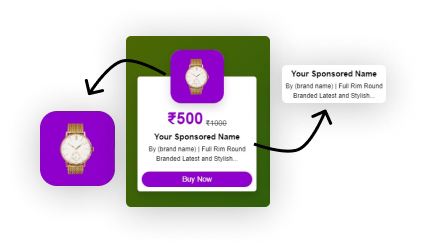
title: "Your Sponsored Name",
description: "By (brand name) | Full Rim Round Branded Latest and Stylish...",
currency: "",
currentPrice: 500,
originalPrice: 1000,
btnText: "Buy Now",
btnLink: "#",
},
] // End of product data array
);
</script>

The result following the completion of the steps.

Where to Set images, Title and description

Below code for where to set image, title and description

{
image: "yourimage.jpg",
title: "Product Name",
description: "Product Description",
}

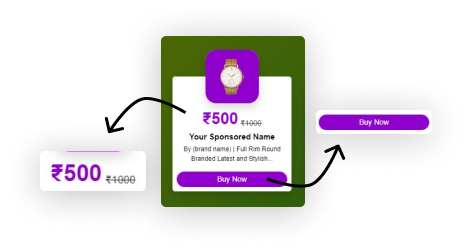
Where To Set Price And Button

Below code for Where To Set Price And Button

{
currency: "",
currentPrice: 500,
originalPrice: 1000,
btnText: "Buy Now",
btnLink: "#",
}

Where To Set Theme Settings

Below code for Where To Set Theme Settings

themeSetting: {
productBGColor: 'hsl(282, 100%, 40%)',
productsBoxBorderRadius: "20px",
priceColor: "hsl(282, 100%, 40%)",
titleTextColor: "black",
titleFontSize: "15px",
descriptionTextColor: "black",
descriptionFontSize: "12px",
buttonBGColor: "hsl(282, 100%, 40%)",
buttonHoverBGColor: "hsl(282, 100%, 20%)",
buttonBorderRadius: "20px",
}

To upload an image and retrieve its source (URL), please follow these steps :

Select or Prepare Your Image: Begin by choosing the image you wish to upload, ensuring it’s in an appropriate format (e.g., JPG, PNG).

Step One : on Your Dashboard Select “File Link” panel and click “File link” button on your Top Right corner

Step Two: Select your desired image and and its name then proceed by clicking the “Create File Url” button.

Step Three: Now, you can see bellow figure that highlighted the image url and just “Copy Your Image Address.”

“Follow the previously mentioned steps to upload and obtain the image URL for all of your images.”
Other Style Sections :

Bio Link page, Hero Section, Learn, Sections

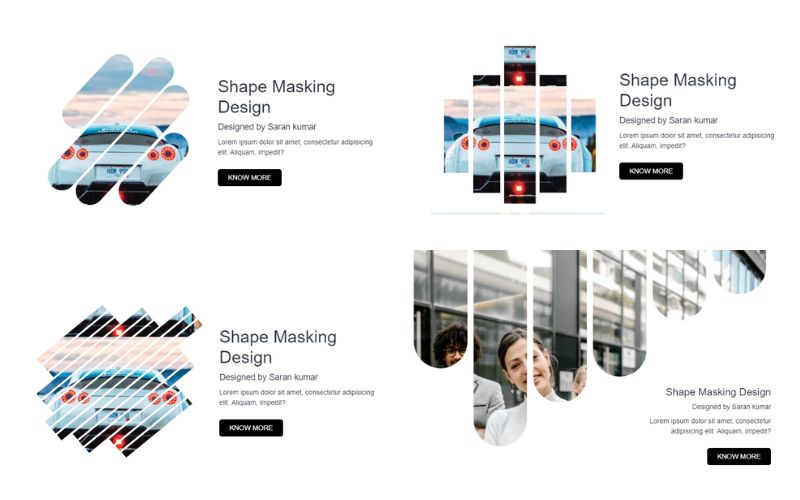
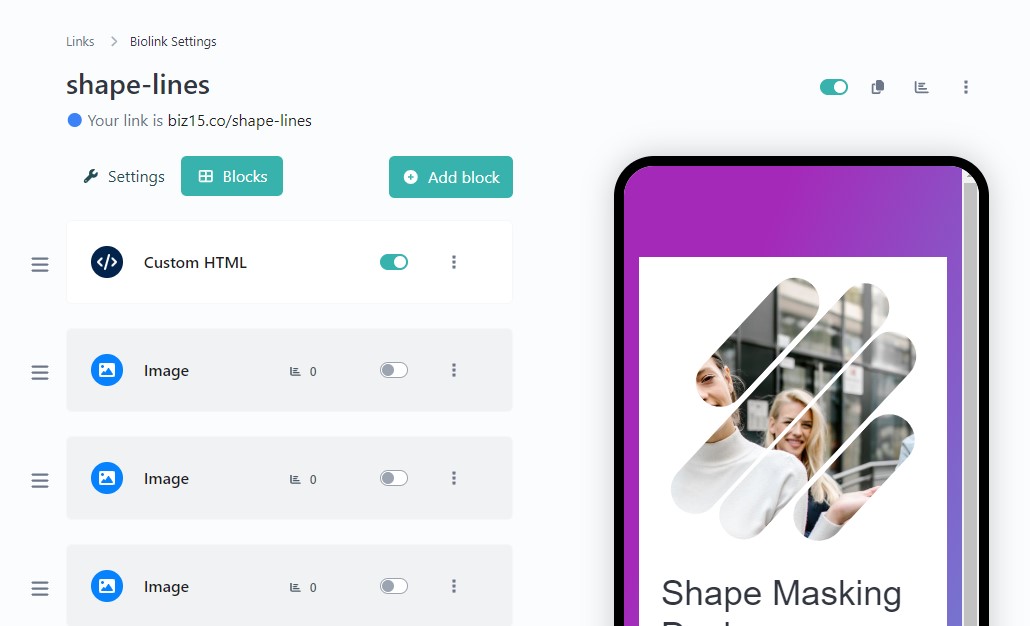
Background Image Shape Lines Section

Step One: Insert a Custom HTML Block.

Step two: Just Paste below JS code into your Custom HTML block

    <!-- Include external JavaScript file for shape masking designs -->
    <script src="https://biz15.com/trialone/custom/js/shapemaskingdesigns.js"></script>
    <!-- Initialize ShapeMaskingDesigns object with specific parameters -->
    <script>
        // Create a new ShapeMaskingDesigns object
        new ShapeMaskingDesigns({
            // Image URL for the design
            image: "https://biz15.co/uploads/block_images/a6b839437d32e768dcf8de0734afb80c.jpg",
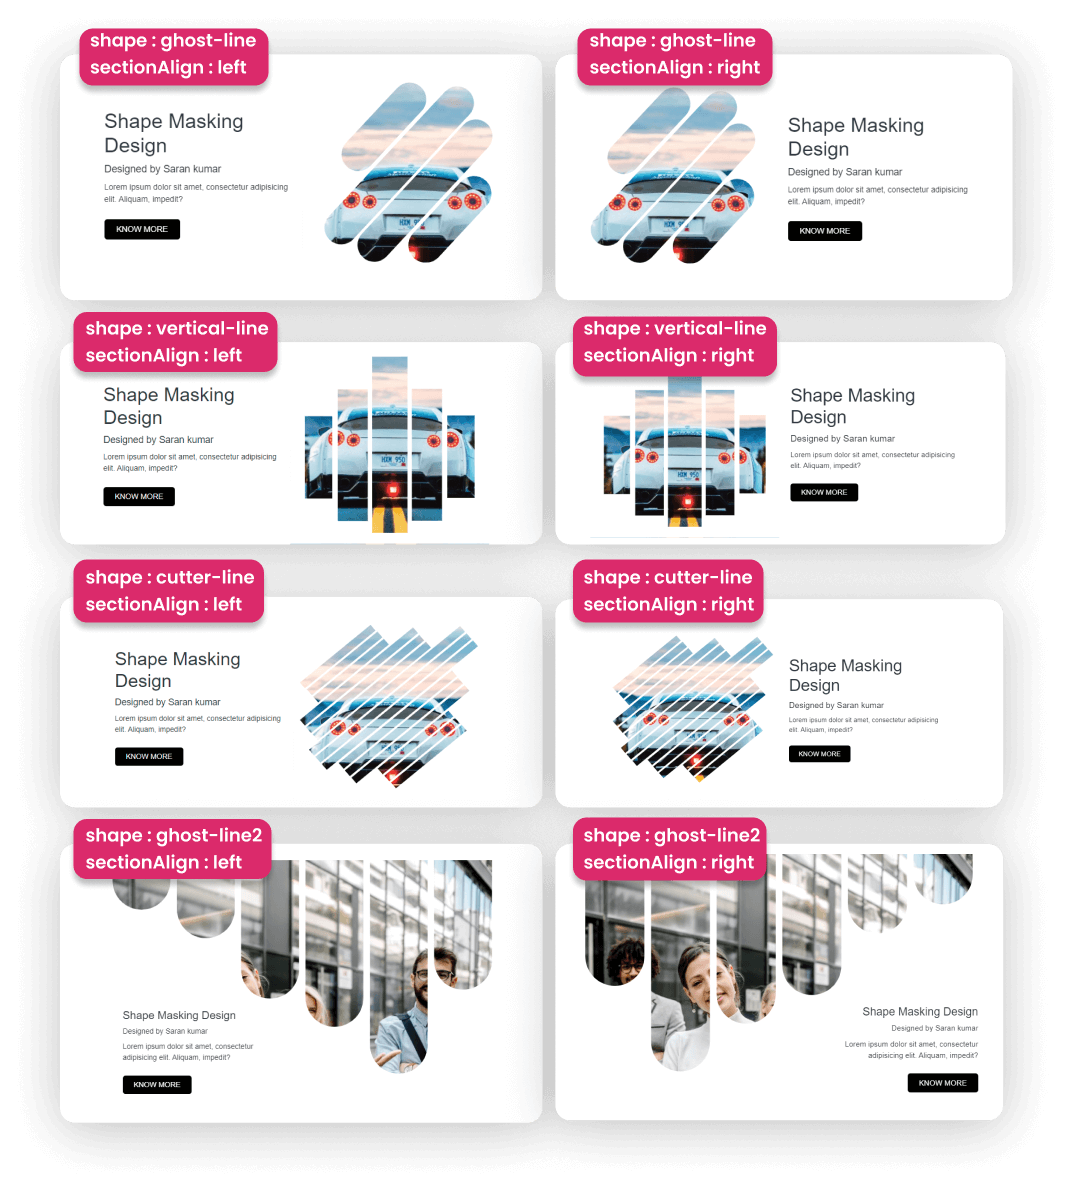
            // Type of shape used for masking (e.g., "ghost-line" , "ghost-line2" , "vertical-line" and "cutter-line")
            shape: "ghost-line",
            // Alignment of the design section (e.g., "left" and "right")
            sectionAlign: "left",
            // Title of the design
            title: "Shape Masking Design",
            // Short title or designer information
            shortTitle: "Designed by Saran kumar",
            // Description or content for the design
            paragraph: "Lorem ipsum dolor sit amet, consectetur adipisicing elit. Aliquam, impedit?",
            // Button details, including text, link, and styling
            button: {
                text: "KNOW MORE",
                link: "#",
                color: "white",
                backgroundColor: "black",
                hoverColor: "white",
                hoverBackgroundColor: "#dc3545",
            }
        });
    </script>

The result following the completion of the steps.

Where To Set Title, Short Title, Paragraph And Section Alignment

Below Code For Where To Set Title, Short Title, Paragraph And Section Alignment :

    title: "Title of the design",
    shortTitle: "Short title or designer information",
    paragraph: " Description or content for the design",
    // Alignment of the design section (e.g., "left" and "right")
    sectionAlign: "left",

Where To Change Image

Below code for Where To Change Image :

    image: "your-image.jpg",

Where To Set Button Details And Style

Below code for Where To Set Button Details And Style :

    // Button details, including text, link, and styling
    button: {
        text: "KNOW MORE",
        link: "#",
        color: "white",
        backgroundColor: "black",
        hoverColor: "white",
        hoverBackgroundColor: "#dc3545",
    }

Where To Change Shape Design

Design shape links just copy and paste this link in a JS data : (shape: ” “,)

Below code for Where To Change Shape Design :

    // Type of shape used for masking (e.g., "ghost-line" , "ghost-line2" , "vertical-line" and "cutter-line")
    shape: "ghost-line",

To upload an image and retrieve its source (URL), please follow these steps :

Select or Prepare Your Image: Begin by choosing the image you wish to upload, ensuring it’s in an appropriate format (e.g., JPG, PNG).

Step One : on Your Dashboard Select “File Link” panel and click “File link” button on your Top Right corner

Step Two: Select your desired image and and its name then proceed by clicking the “Create File Url” button.

Step Three: Now, you can see bellow figure that highlighted the image url and just “Copy Your Image Address.”

“Follow the previously mentioned steps to upload and obtain the image URL for all of your images.”
Other Style Sections :

Bio Link page, Grids, Learn, Sections

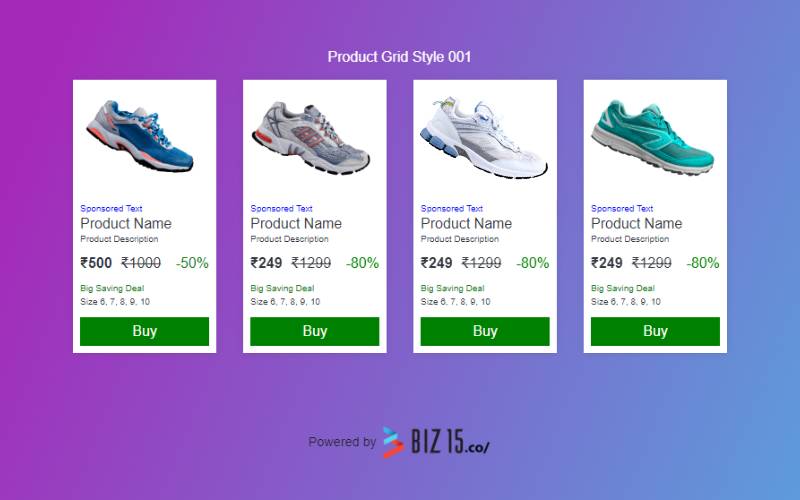
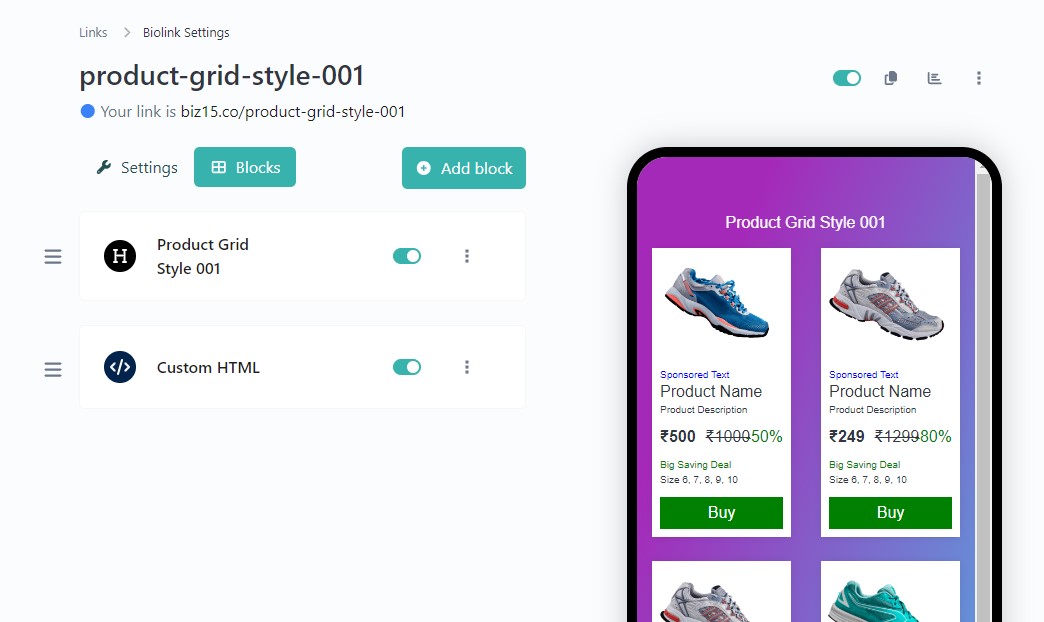
Product Grid Style Section – 001

Step One: Insert a Custom HTML Block.

Step two: Just Paste below JS code into your Custom HTML block

    <!-- Include external JavaScript file -->
    <script src="https://biz15.com/trialone/custom/js/productgridstyle001.js"></script>
    
    <!-- Initialize the ProductGridStyle001 object with theme colors, column configuration, and an array of products -->
    <script id="ProductgridStyle001">
    
        // Create an instance of ProductGridStyle001
        new ProductGridStyle001(
    
            // First parameter: Theme colors
            {
                theme: { colorOne: "green", colorTwo: "blue" }
            },
    
            // Second parameter: Number of columns for desktop, tablet, and mobile views
            {
                columns: { desktop: 3, tablet: 3, mobile: 2 }
            },
    
            // Third parameter: Array of products
            [
                // Product details
                {
                    image: "https://biz15.co/uploads/block_images/247a851f686a88da30e19ed75afc7ebd.png",
                    sponsored: "Sponsored Text",
                    productName: "Product Name",
                    description: "Product Description",
                    currency: "",
                    currentPrice: 500,
                    originalPrice: 1000,
                    discount: true,
                    offerText: "Big Saving Deal",
                    ProductDetails: "Size 6, 7, 8, 9, 10",
                    btnText: "Buy",
                    btnLink: "#",
                },
                // Additional products can be added here
            ]
        );
    </script>

The result following the completion of the steps.

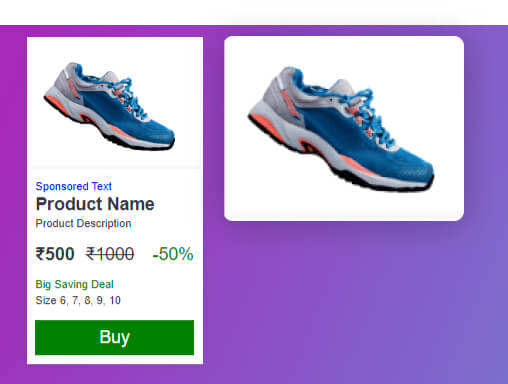
Where To Add Product Image

Below Code For Where To Add Product Image.

    image: "your-product-image.png",

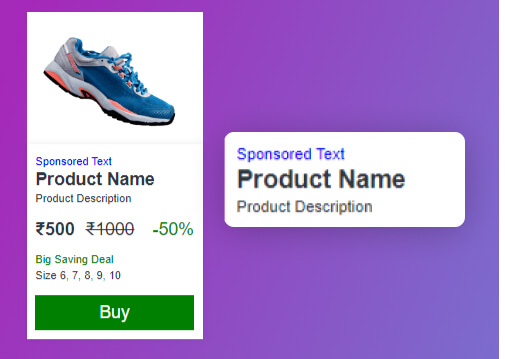
Where To Add Product Title And Its Descriptions

Below Code For Where To Add Product Title And Its Descriptions.

    sponsored: "Sponsored Text",
    productName: "Product Name",
    description: "Product Description",

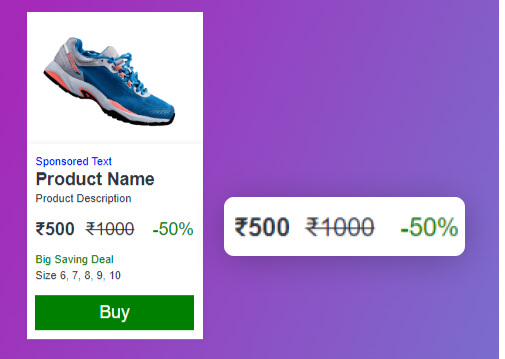
Where To Set Product Price And Discount Offers

Below Code For Where To Set Product Price And Discount Offers.

    currentPrice: 500,
    originalPrice: 1000,
    discount: true,

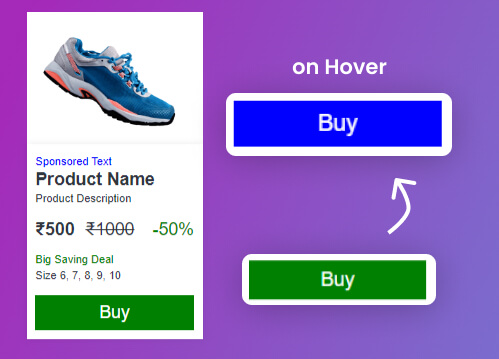
Where To Set Product Buy Button Link

Below Code For Where To Set Product Buy Button Link.

    //Setting Your Button Text and Link
    btnText: "Buy",
    btnLink: "#",

How To Modify The Responsiveness Of The Grid

Below Code For How To Modify The Responsiveness Of The Grid.

    // Second parameter: Number of columns for desktop, tablet, and mobile views
    {
        columns: { desktop: 3, tablet: 3, mobile: 2 }
    },

How To set Theme Color

Below Code For How To set Theme Color.

    // First parameter: Theme colors
    {
        theme: { colorOne: "green", colorTwo: "blue" }
    },

To upload an image and retrieve its source (URL), please follow these steps :

Select or Prepare Your Image: Begin by choosing the image you wish to upload, ensuring it’s in an appropriate format (e.g., JPG, PNG).

Step One : on Your Dashboard Select “File Link” panel and click “File link” button on your Top Right corner

Step Two: Select your desired image and and its name then proceed by clicking the “Create File Url” button.

Step Three: Now, you can see bellow figure that highlighted the image url and just “Copy Your Image Address.”

“Follow the previously mentioned steps to upload and obtain the image URL for all of your images.”

Other Style Sections :

Bio Link page, Hero Section, Learn, Sections

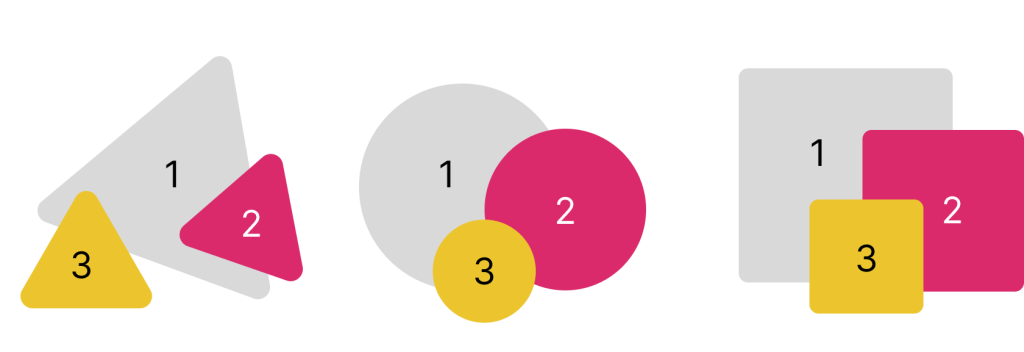
Geometrical Three Shapes Designs Style Section

Step One: Insert a Custom HTML Block.

Step two: Just Paste below JS code into your Custom HTML block

    <!-- Include external JavaScript file -->
    <script src="https://biz15.com/trialone/custom/js/threeshapedesigns.js"></script>
    
    <!-- Initialize the ThreeShapeDesigns object with an array of designs -->
    <script id="threeShapeDesigns">
    
        // Create an instance of ThreeShapeDesigns
        new ThreeShapeDesigns([
            // Design details for the first item in the array
            {
                // Design style (e.g., "triangle" , "circle" , "square")
                style: "triangle", 
    
                // URLs for three images associated with the design
                image1: "image-1.jpg",
                image2: "image-2.jpg",
                image3: "image-3.jpg",
    
                // Title of the design
                title: "Your Title Goes Here",
    
                // Title color
                titleColor: "blue",
    
                // Paragraph describing the design
                paragraph: "Your Paragraph Goes Here"
            }
        ]);
    </script>

The result following the completion of the steps.

Where to Set Title And Description

Here’s an example of Where to Set Title And Description

    // Title of the design
    title: "Your Title Goes Here",

    // Title color
    titleColor: "blue",

    // Paragraph describing the design
    paragraph: "Your Paragraph Goes Here"

Where and How to Set Shape Type

Here’s an example of Where and How to Set Shape Type ,

options : “triangle” , “circle” and “square”

    // Design style (e.g., "triangle" , "circle" , "square")
    style: "triangle", 
    // Design style (e.g., "triangle" , "circle" , "square")
    style: "circle", 
    // Design style (e.g., "triangle" , "circle" , "square")
    style: "square", 

Where and How to Add Your Images in Three Shape Designs

This design only and must need three images

below code for Where and How to Add Your Images in Three Shape Designs :

    // URLs for three images associated with the design
    image1: "image-1.jpg",
    image2: "image-2.jpg",
    image3: "image-3.jpg",

To upload an image and retrieve its source (URL), please follow these steps :

Select or Prepare Your Image: Begin by choosing the image you wish to upload, ensuring it’s in an appropriate format (e.g., JPG, PNG).

Step One : on Your Dashboard Select “File Link” panel and click “File link” button on your Top Right corner

Step Two: Select your desired image and and its name then proceed by clicking the “Create File Url” button.

Step Three: Now, you can see bellow figure that highlighted the image url and just “Copy Your Image Address.”

“Follow the previously mentioned steps to upload and obtain the image URL for all of your images.”
Other Style Sections :