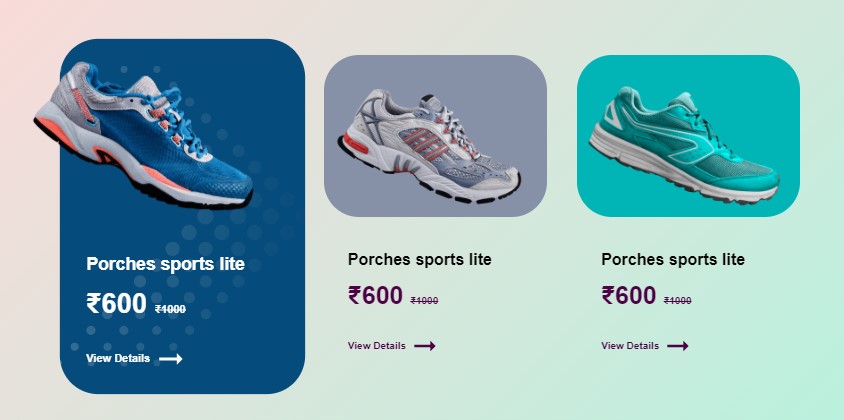
To integrate this Product Grid Style – 004 into your biography page, please follow these installation instructions.
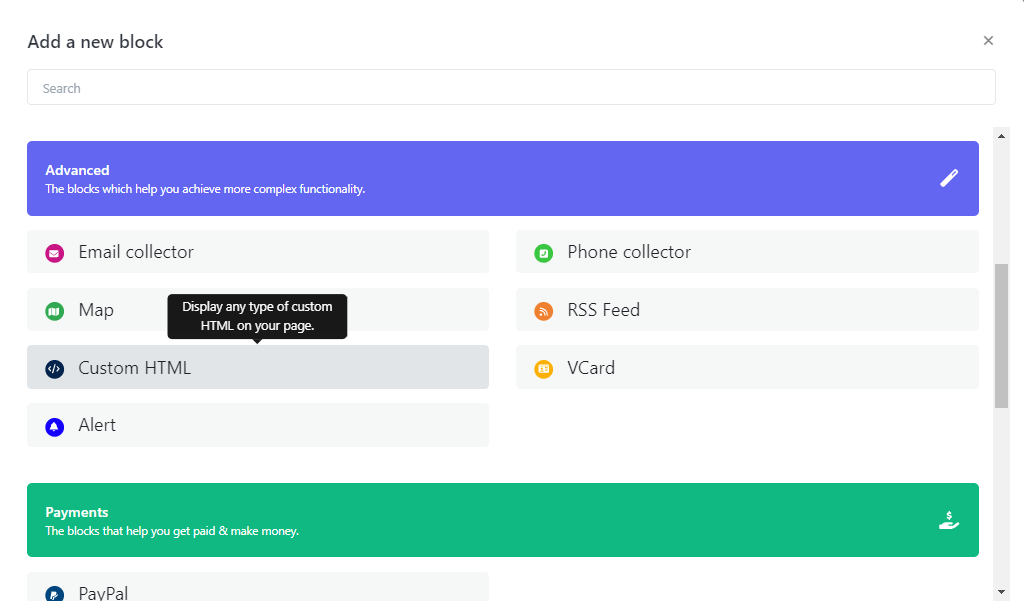
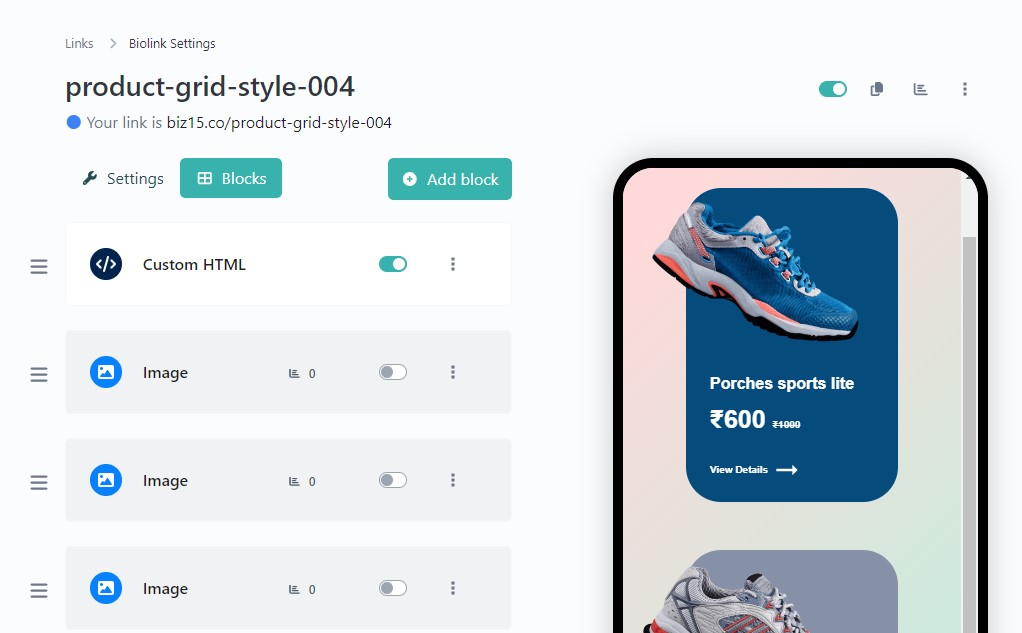
Step One: Insert a Custom HTML Block.
Step two: Just Paste below JS code into your Custom HTML block
<!-- Include the external JavaScript file for StylishGrid -->
<script src="https://biz15.com/trialone/custom/js/stylishgrid.js"></script>

<!-- Initialize StylishGrid -->
<script>
    // Create a new instance of StylishGrid with style and product data
    new StylishGrid({style : 1}, [
        // Define data for the first product
        {
            ProductBgColor: "#023867",
            productImage: "https://biz15.co/uploads/block_images/247a851f686a88da30e19ed75afc7ebd.png",
            title: "Porches sports lite",
            currency: "₹",
            discountPrice: "500",
            originalPrice: "1000",
            knowMoreButton: {
                icon: 'fa-solid fa-arrow-right-long',
                text: 'View Detail',
                link: "https://example.com/",
            },
        },
        // Repeat the above block for additional products as needed...
    ]);
</script>
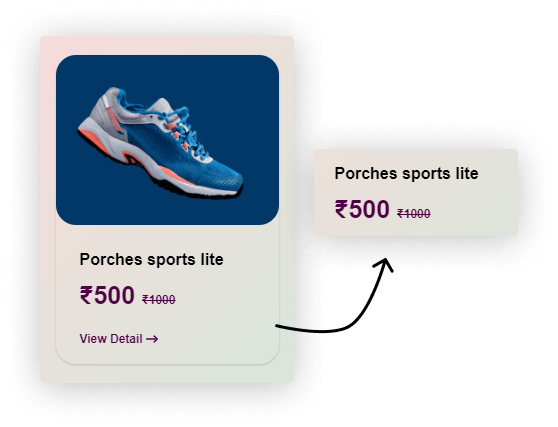
The result following the completion of the steps.
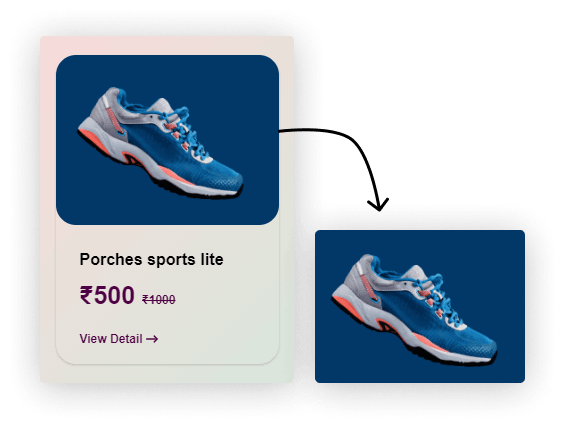
Where To Set Image
Below code for Where To Set Image:
 {
productImage: "yourimage.png",
 }
Where To Set Title And Price
Below code for Where To Set Title And Price :
{
title: "Porches sports lite",
currency: "₹",
discountPrice: "500",
originalPrice: "1000",
}
How To Add More Grid
Add additional grid as needed by placing a comma (,) at the end
Below code for How To Add More Grid :
[
 {
     //Your content for grid 1
  },

  {
    // Your content for grid 2
  }
  // Add additional grid as needed by placing a comma (,) at the end
]
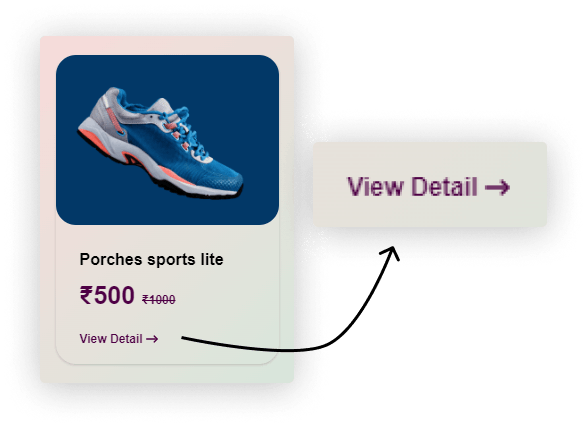
Where To Set Button Link And Color
Below code for Where To Set Button Link And Color :
knowMoreButton: {
icon: 'fa-solid fa-arrow-right-long',
text: 'View Detail',
link: "https://example.com/",
},
To upload an image and retrieve its source (URL), please follow these steps :
Select or Prepare Your Image: Begin by choosing the image you wish to upload, ensuring it’s in an appropriate format (e.g., JPG, PNG).
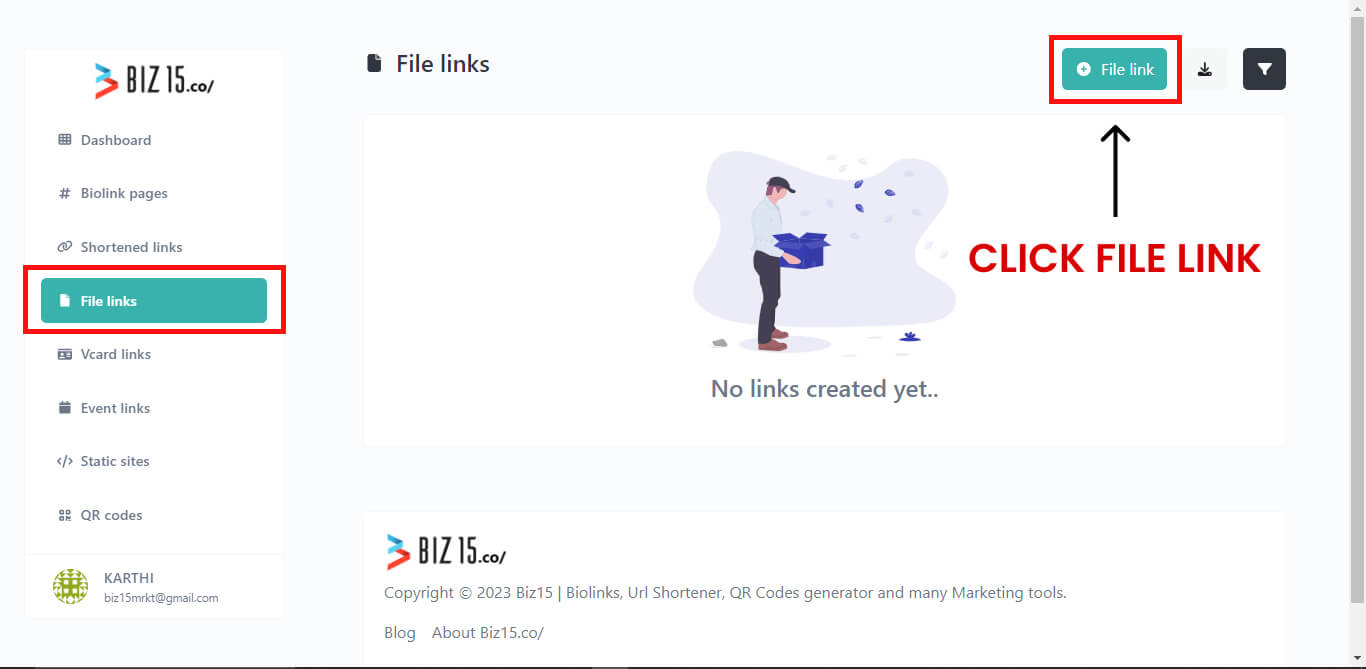
Step One : on Your Dashboard Select “File Link” panel and click “File link” button on your Top Right corner
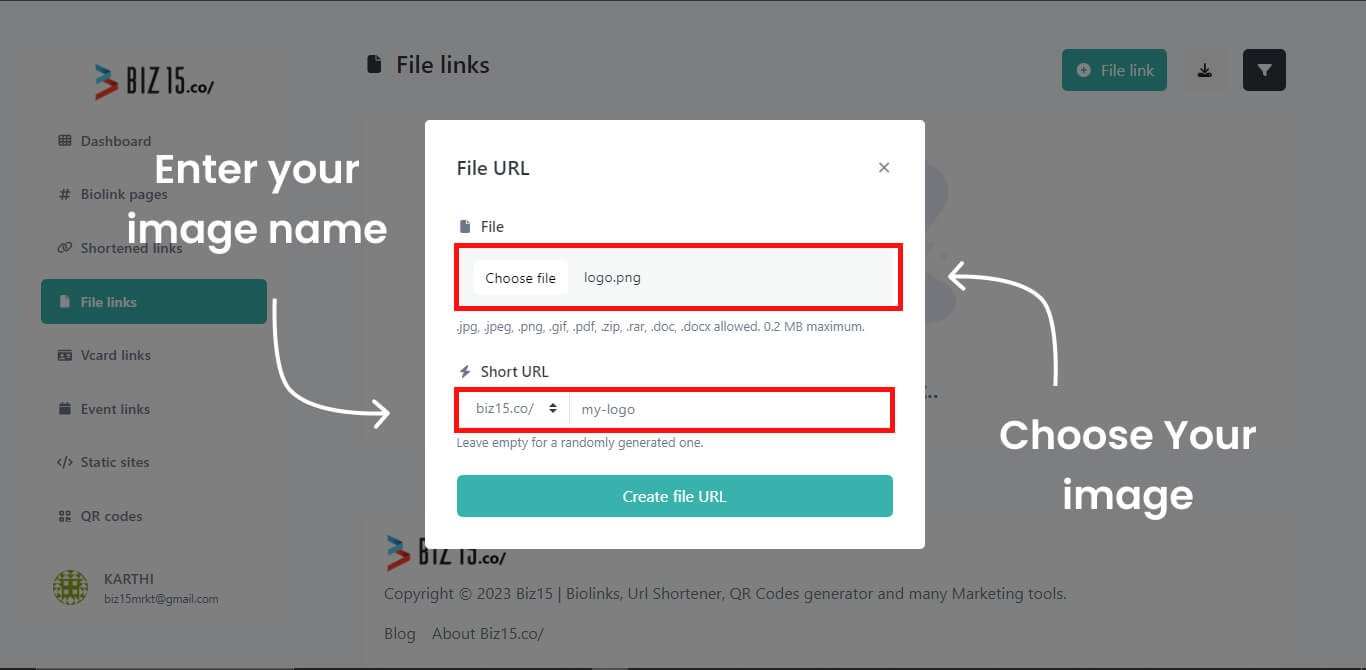
Step Two: Select your desired image and and its name then proceed by clicking the “Create File Url” button.
Step Three: Now, you can see bellow figure that highlighted the image url and just “Copy Your Image Address.”
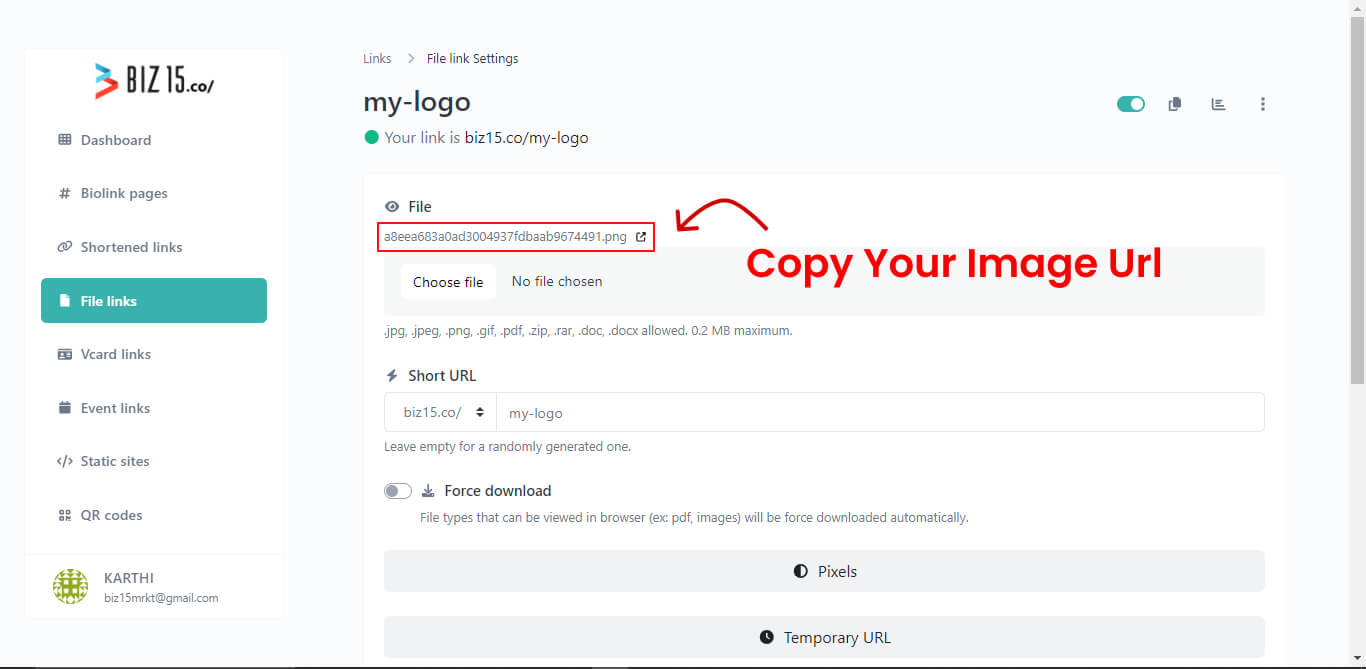
“Follow the previously mentioned steps to upload and obtain the image URL for all of your images.”