To integrate this Event Plugin into your biography page, please follow these installation instructions.
Step One: Insert a Custom HTML Block.
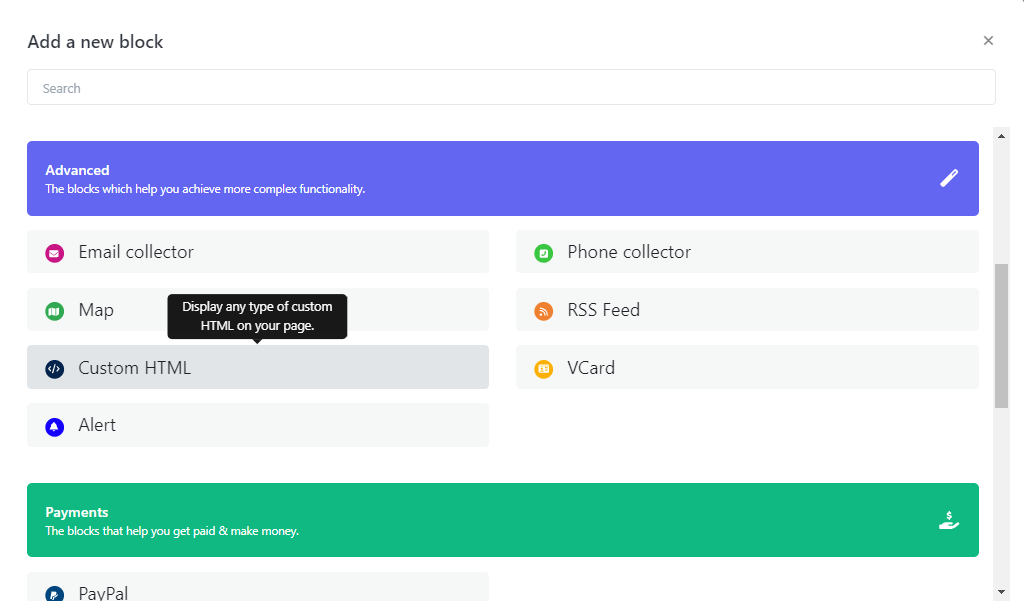
Step two: Just Paste below JS code into your Custom HTML block
  <script id="events-plugins">
// Define an array to store event data
const events = [
  {
      // Event Title
      eventTitle: '[Event Title]',
      // Subtitle or event type
      subTitle: '[Event Subtitle]',
      // Event description
      description: '[Event Description...]',
      // Event image source
      imageSrc: '[your-image.jpg]',
      // Array of related images
      relatedImageSrc: [
          {
              // Title for related image
              title: '[Event Title]',
              // Image source for related image
              img: '[your-image.jpg]',
              // Description for related image
              description: '[Event Description...].'
          },
          {
              // Title for another related image
              title: '[Event Title]',
              // Image source for another related image
              img: '[your-image.jpg]',
              // Description for another related image
              description: '[Event Description...].'
          },
      ],
      // Event date and time
      eventDate: {
          // Start time details
          startTime: {
              year: 2023,
              month: 12,
              day: 21,
              hours: 5,
              minutes: 30
          },
          // End time details
          endTime: {
              year: 2023,
              month: 12,
              day: 10,
              hours: 6,
              minutes: 30
          }
      },
      // Link for "know more" or event details
      knowMoreLink: 'your-link'
  },
  //To include any additional events by listing them separately, using commas to separate each event
];
</script>
<script src="https://biz15.com/trialone/custom/js/events-block.js"></script>
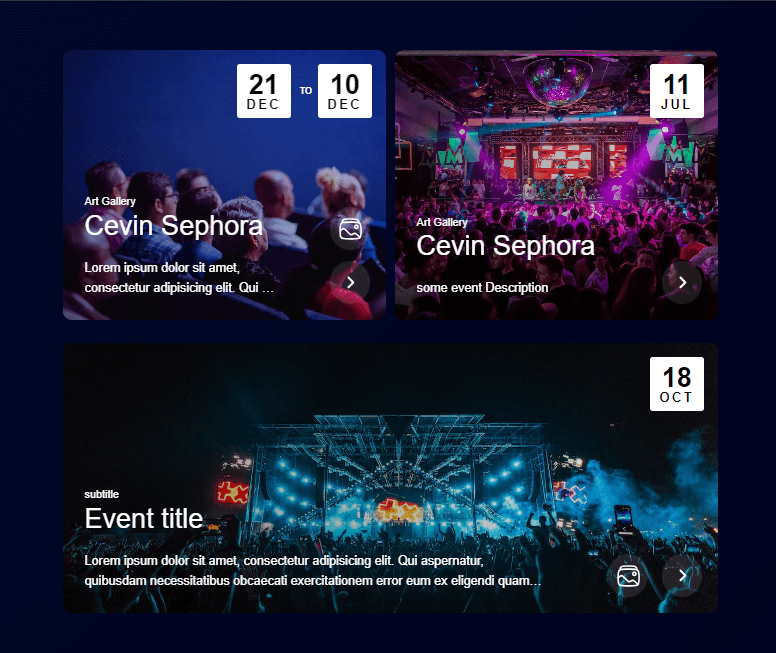
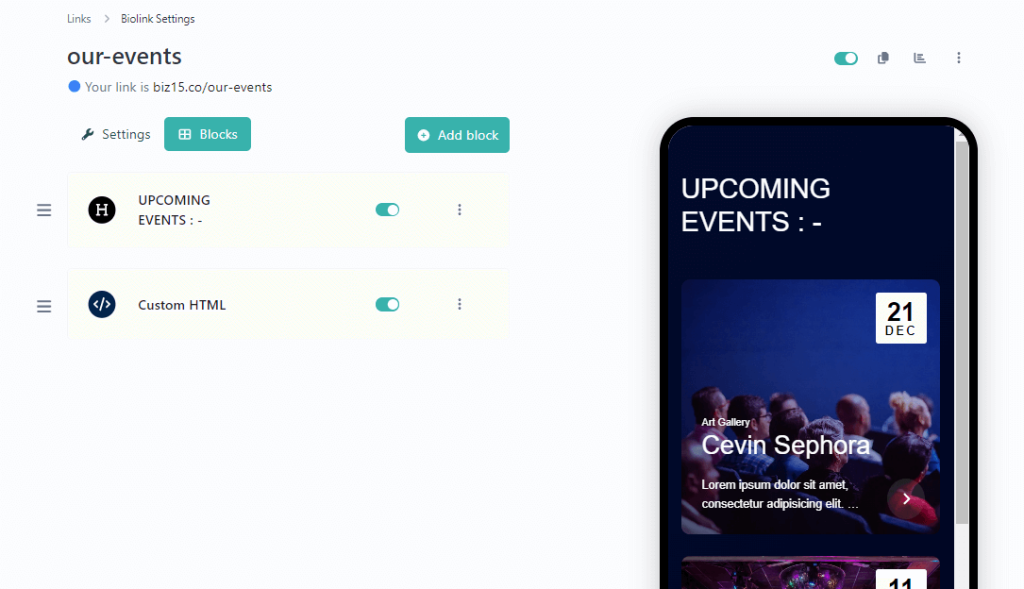
The result following the completion of the steps.
Events Title, Sub Title and Description
Create A Stunning Web Pages
      <script id="events-plugins">
    const events = [
      {
          eventTitle: '[Event Title]',
          subTitle: '[Event Sub Title]',
          description: '[Event Description]',
          ......
          ....
      },
    ]
  </script>
How to add Event Images with Image Gallery
Here’s an example of how to Add image with image gallery for each events as same
      <script id="events-plugins">
    const events = [
      {
          ...
          imageSrc: '[Event Image 1 Url]',
          relatedImageSrc: [
              {
              title : '[Event Image 2 Title]',
              img : '[Event Image 2 Url]',
              description : '[Event Image 2 Description]'
              },
              {
              title : '[Event Image 3 Title]',
              img :'[Event Image 3 Url]',
              description : '[Event Image 2 Description]'
              },
              //additional gallery Image goes here, using commas to separate each images with title and description
          ],
          ...
      },
    ]
  </script>
Set Event Start Date and End Date with Time
The following Code shows how to Set Event Start Date and End Date with Time
      <script id="events-plugins">
    const events = [
      {
          ...
        // Define an object to represent the eventDate, which includes start and end times.
        eventDate: {
            // Specify the start time of the event.
            startTime: {
              year: 2023,     // Year when the event begins.
              month: 12,      // Month of the event start.
              day: 21,        // Day of the month for the event start.
              hours: 5,       // Hours part of the event start time.
              minutes: 30     // Minutes part of the event start time.
            },
            // Specify the end time of the event.
            endTime: {
              year: 2023,     // Year when the event ends.
              month: 12,      // Month of the event end.
              day: 21,        // Day of the month for the event end (should match the start day).
              hours: 6,       // Hours part of the event end time.
              minutes: 30     // Minutes part of the event end time.
            }
        },
          ...
      },
    ]
  </script>
To upload an image and retrieve its source (URL), please follow these steps :
Select or Prepare Your Image: Begin by choosing the image you wish to upload, ensuring it’s in an appropriate format (e.g., JPG, PNG).
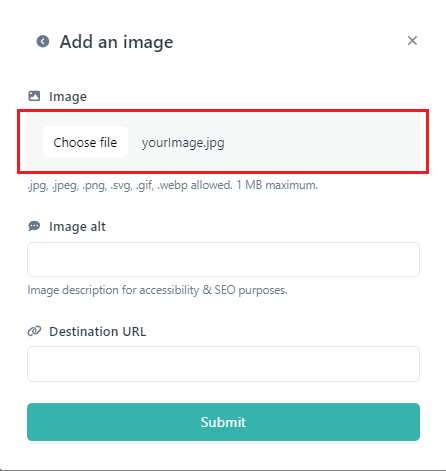
Step One : Insert an image block into your biography page.
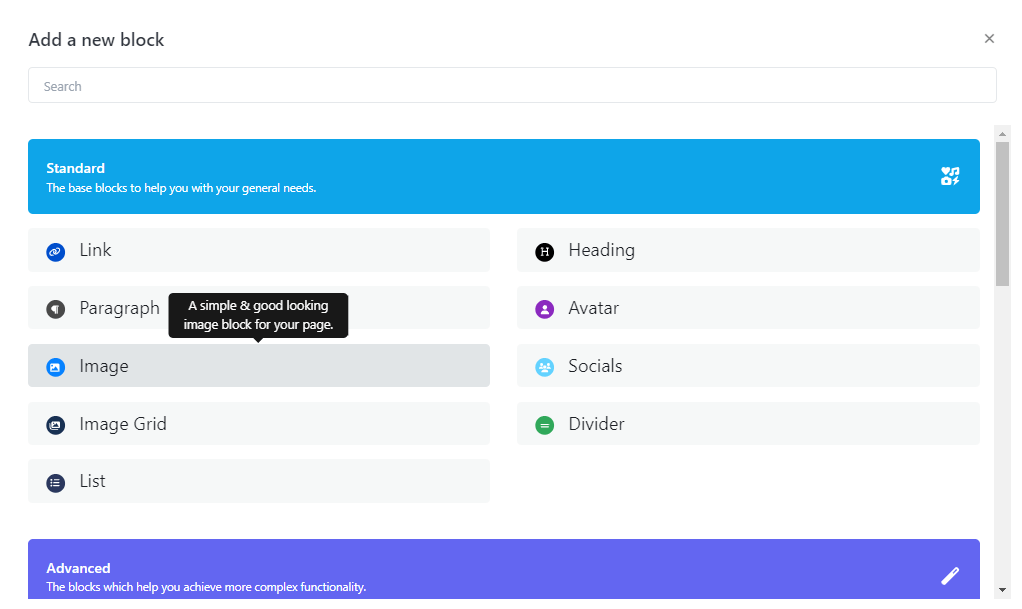
Step Two: Select your desired image and proceed by clicking the “Submit” button.
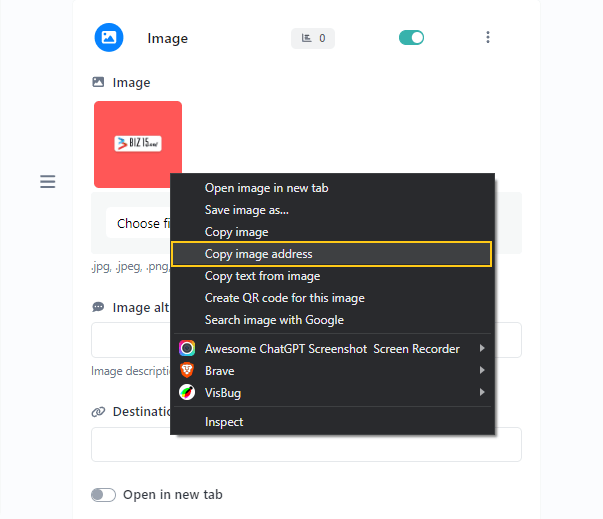
Step Three: Now, open your image block, right-click on the image, and select “Copy Image Address.”
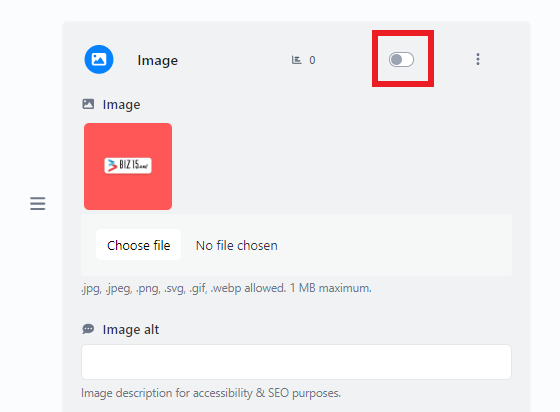
Step Four: Ensure that your image is not visible in the live view by disabling your status.
Here is an example of how you can use the image source (URL) in an HTML “img” tag:
<img src="https://biz15.co/yourImage.jpg" alt="Description of the Image">
Replace ‘https://biz15.co/yourImage.jpg’ with the actual URL you received during the image upload process.
“Follow the previously mentioned steps to upload and obtain the image URL for all of your images.”
0 comments
Write a comment